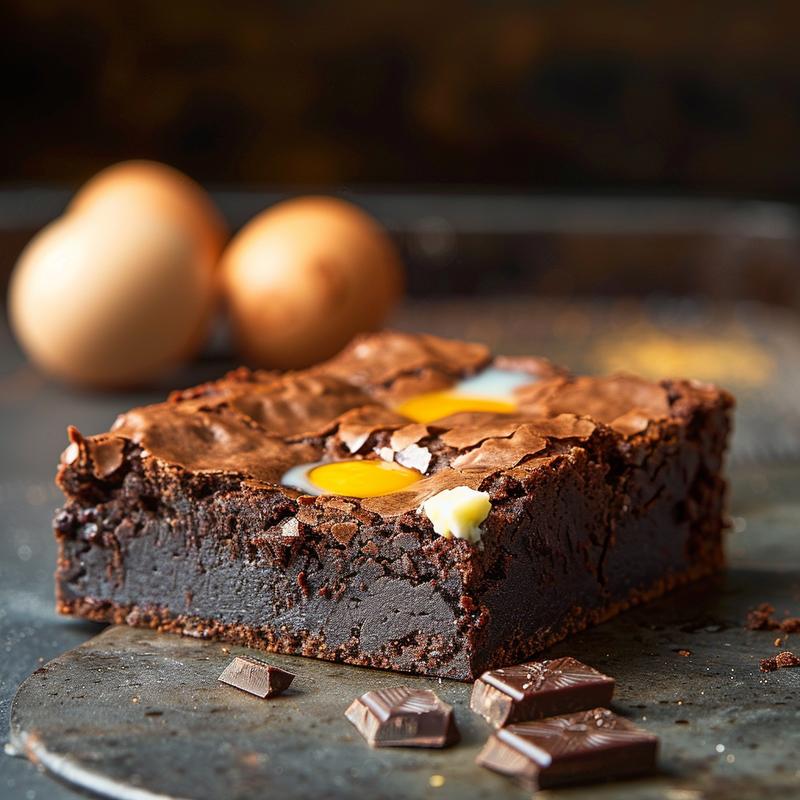
Delicious Letterbox Brownies: A Recipe for Connection
In our fast-paced world, where moments of genuine connection can feel fleeting, the simple act of sharing a homemade treat becomes a quiet rebellion. These Delicious Letterbox Brownies are more than just a recipe; they are a tangible expression of care, a way to bridge distances, and a reminder that even small gestures can carry profound meaning. Imagine the joy of a loved one opening their mailbox to find a parcel of fudgy, decadent goodness, baked with intention and love. That’s the magic we’re creating today.
This recipe is designed for simplicity and portability, making it perfect for sending a little sweetness through the mail. It yields brownies that are rich, moist, and utterly irresistible, all while fitting snugly into a standard letterbox. Let’s embark on this mindful baking journey together, transforming humble ingredients into a heartfelt gift.
Why You’ll Love This Letterbox Brownies Recipe
There’s a symphony of reasons to fall in love with these letterbox brownies. They’re not just about satisfying a sweet craving; they’re about creating an experience, sharing a moment, and nurturing relationships. Here’s why this recipe will become a cherished favorite:
- Unforgettable Flavor: The intense chocolate flavor, achieved through a generous blend of dark chocolate and cocoa powder, will leave you craving more.
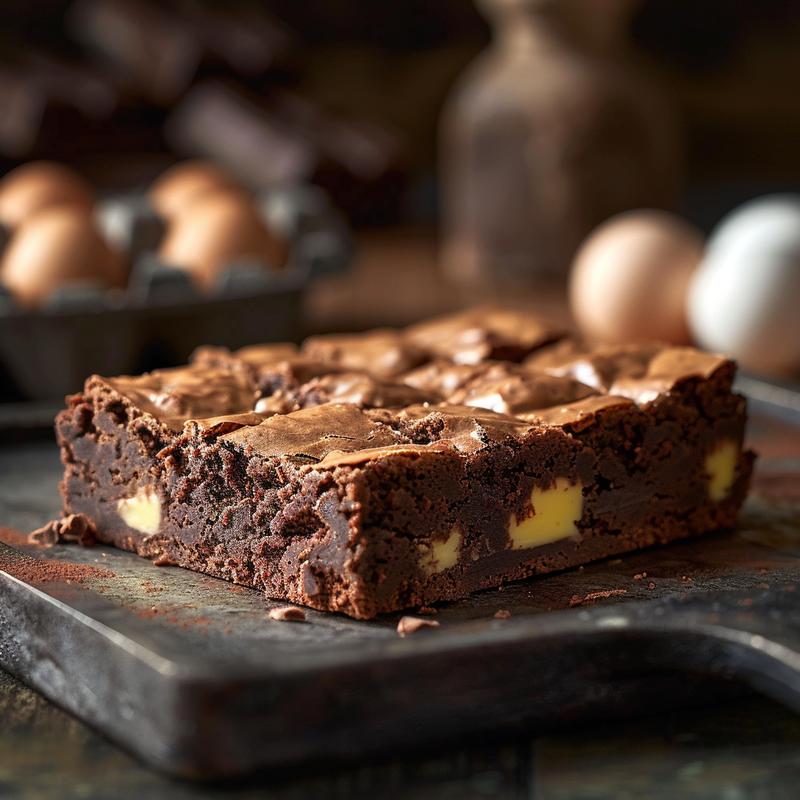
- Perfect Texture: These brownies strike the perfect balance between fudgy and chewy, creating a melt-in-your-mouth sensation.
- Easy to Make: With simple instructions and readily available ingredients, this recipe is accessible to bakers of all skill levels.
- Ideal for Gifting: The compact size and sturdy nature make them perfect for sending through the mail, bringing joy to loved ones near and far. They are the perfect delicious letterbox gift.
- Versatile: Easily customizable with your favorite add-ins, from chocolate chips to nuts, allowing you to create unique flavor combinations.
- Long-Lasting Freshness: These brownies stay moist and delicious for days, making them ideal for enjoying at a leisurely pace.
Ingredients for Delicious Letterbox Brownies
The beauty of this recipe lies in its simplicity. We’re using humble, wholesome ingredients to create something truly extraordinary. Here’s what you’ll need for these delicious letterbox brownies:
- 150g unsalted butter, plus extra for greasing: Provides richness and moisture, creating a tender crumb.
- 150g dark chocolate (70% cocoa solids), broken into pieces: Contributes intense chocolate flavor and a fudgy texture.
- 3 large eggs: Bind the ingredients together and add structure.
- 200g golden caster sugar: Sweetens the brownies and adds a subtle caramel note.
- 75g plain flour: Provides structure and helps to create a tender crumb.
- 25g cocoa powder: Enhances the chocolate flavor and adds depth.
- Pinch of salt: Balances the sweetness and enhances the other flavors.
- Optional: 100g chocolate chips or nuts: Adds texture and flavor variations.
Step-by-Step Instructions: Making Your Brownies
Now, let’s embark on the mindful process of creating these delicious letterbox brownies. Each step is a small act of devotion, transforming simple ingredients into a heartfelt expression of care.
- Prepare the Oven and Tin: Preheat your oven to 180°C (160°C fan/Gas Mark 4). Grease and line a 20cm square baking tin with baking parchment. This ensures easy removal and prevents sticking.
- Melt the Chocolate and Butter: Melt the butter and chocolate together in a heatproof bowl set over a pan of simmering water (or in short bursts in the microwave), stirring until smooth. Remove from the heat and set aside to cool slightly.
- Whisk Eggs and Sugar: In a separate bowl, whisk together the eggs and sugar until light and fluffy. This creates airiness and adds to the brownie’s texture.
- Combine Wet and Dry Ingredients: Gradually whisk the melted chocolate mixture into the egg mixture until well combined. Sift in the flour, cocoa powder, and salt. Gently fold until just combined. Be careful not to overmix.
- Add Optional Ingredients: If using, fold in the chocolate chips or nuts. This is where you can personalize your brownies and add your own unique touch.
- Bake: Pour the batter into the prepared tin and spread evenly. Bake for 20-25 minutes, or until the top is slightly cracked and a skewer inserted into the center comes out with a few moist crumbs attached. Note: Baking time may vary depending on your oven.
- Cool and Cut: Let the brownies cool completely in the tin before cutting into squares. They will be fudgier when cooled.
- Enjoy and Share: Cut into squares and enjoy! These brownies are perfect for savoring on your own or sharing with loved ones.
Pro Tips for Letterbox Brownie Perfection
To elevate your letterbox brownies from delicious to divine, consider these pro tips:
- Use High-Quality Chocolate: The quality of your chocolate will directly impact the flavor of your brownies. Opt for a dark chocolate with at least 70% cocoa solids for the best results.
- Don’t Overmix: Overmixing the batter can result in tough brownies. Gently fold the dry ingredients into the wet ingredients until just combined.
- Underbake Slightly: For a fudgier texture, slightly underbake the brownies. They should still be moist in the center.
- Cool Completely: Allowing the brownies to cool completely in the tin before cutting is crucial for achieving the desired fudgy texture.
- Use a Sharp Knife: For clean cuts, use a sharp knife to cut the brownies into squares.
- Room Temperature Considerations: Remember that these brownies are often traveling at room temperature, so ensure they are baked thoroughly to maintain quality.
Common Mistakes to Avoid
Even the most experienced bakers can make mistakes. Here are a few common pitfalls to avoid when making letterbox brownies:
- Overbaking: Overbaking will result in dry, crumbly brownies. Keep a close eye on the baking time and test for doneness with a skewer.
- Using Cold Ingredients: Ensure that your butter and eggs are at room temperature for optimal mixing and a smoother batter.
- Not Lining the Tin: Lining the baking tin with parchment paper is essential for easy removal and prevents sticking.
- Ignoring Oven Temperature: Ensure your oven is accurately calibrated to prevent uneven baking.
Variations: Personalize Your Brownies
One of the joys of baking is the ability to personalize recipes and create unique flavor combinations. Here are a few variations to inspire your creativity:
- Chocolate Chip Brownies: Add 100g of your favorite chocolate chips (milk, dark, or white) to the batter.
- Nutty Brownies: Fold in 100g of chopped nuts, such as walnuts, pecans, or almonds.
- Salted Caramel Brownies: Drizzle caramel sauce over the batter before baking and sprinkle with sea salt.
- Espresso Brownies: Add a teaspoon of instant espresso powder to the batter for a mocha-infused flavor.
- Peanut Butter Swirl Brownies: Swirl peanut butter into the batter before baking for a decadent twist.
Storing Your Delicious Letterbox Brownies
To maintain the freshness and flavor of your letterbox brownies, proper storage is essential:
- Airtight Container: Store the brownies in an airtight container at room temperature.
- Layer with Parchment Paper: To prevent sticking, layer the brownies with parchment paper.
- Room Temperature is Key: Storing at room temperature is best for maintaining their fudgy texture.
- Shelf Life: These brownies will stay fresh for up to 4 days.
Frequently Asked Questions (FAQ)
Here are some common questions about making letterbox brownies:
- Can I use a different type of chocolate? Yes, you can use milk chocolate or white chocolate, but the flavor will be different.
- Can I use a different type of flour? I recommend using plain flour for the best results.
- Can I freeze the brownies? Yes, you can freeze the brownies for up to 2 months. Wrap them tightly in plastic wrap and then in foil.
- How do I know when the brownies are done? The brownies are done when the top is slightly cracked and a skewer inserted into the center comes out with a few moist crumbs attached.
- What size mailer? A to inch mailer should work perfectly.
Serving Suggestions for Delicious Letterbox Brownies
These delicious letterbox brownies are delightful on their own, but here are a few serving suggestions to elevate the experience:
- With a Scoop of Ice Cream: Serve warm brownies with a scoop of vanilla ice cream for a classic combination.
- With a Cup of Coffee or Tea: Pair the brownies with a warm beverage for a comforting treat.
- Drizzled with Chocolate Sauce: Drizzle the brownies with melted chocolate sauce for an extra layer of decadence.
- Sprinkled with Powdered Sugar: Dust the brownies with powdered sugar for a simple yet elegant presentation.
- As Part of a Dessert Platter: Include the brownies in a dessert platter with other treats for a variety of flavors and textures.
In closing, may these Delicious Letterbox Brownies bring joy and connection to those you share them with. Remember, it’s not just about the brownies themselves, but the love and intention that goes into each bite. Happy baking!

Delicious Letterbox Brownies Recipe
Ingredients
Method
- Preheat oven to 180°C (160°C fan/Gas Mark 4). Grease and line a 20cm square baking tin.
- Melt butter and chocolate, stirring until smooth. Cool slightly.
- Whisk eggs and sugar until light and fluffy.
- Whisk melted chocolate mixture into egg mixture until combined.
- Sift in flour, cocoa powder, and salt. Gently fold until just combined.
- If using, fold in chocolate chips or nuts.
- Pour batter into the tin and spread evenly.
- Bake for 20-25 minutes, until the top is slightly cracked.
- Cool completely in the tin before cutting into squares.
- Cut into squares and enjoy!
Notes
Loved this recipe? Save it to your favorite Pinterest board so you can easily find it later! ✨